
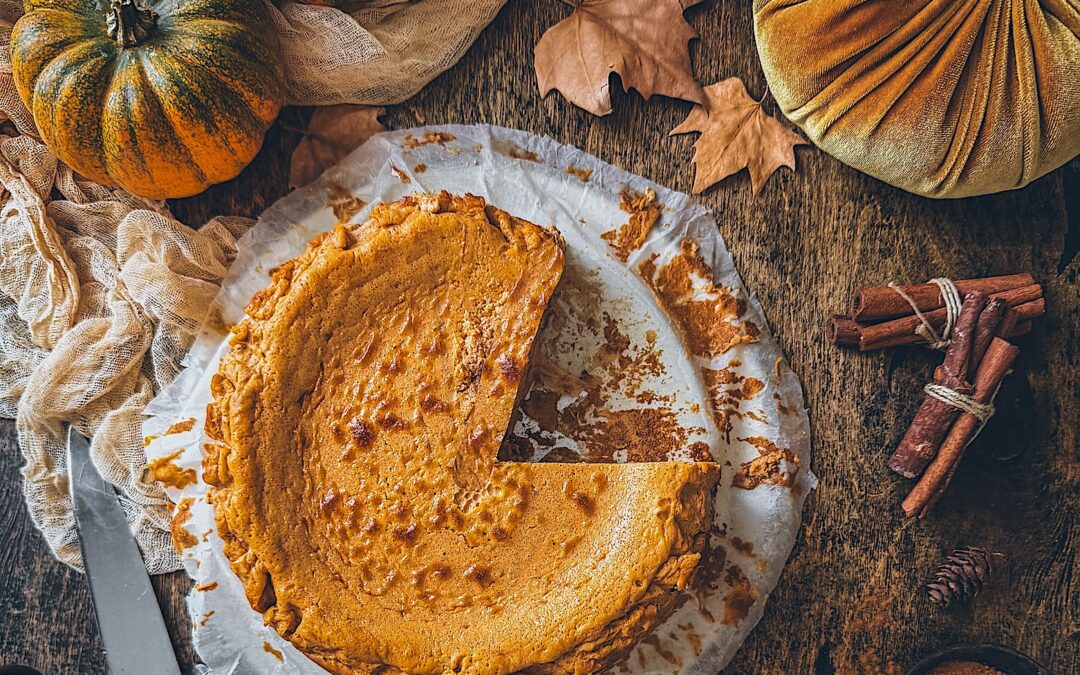
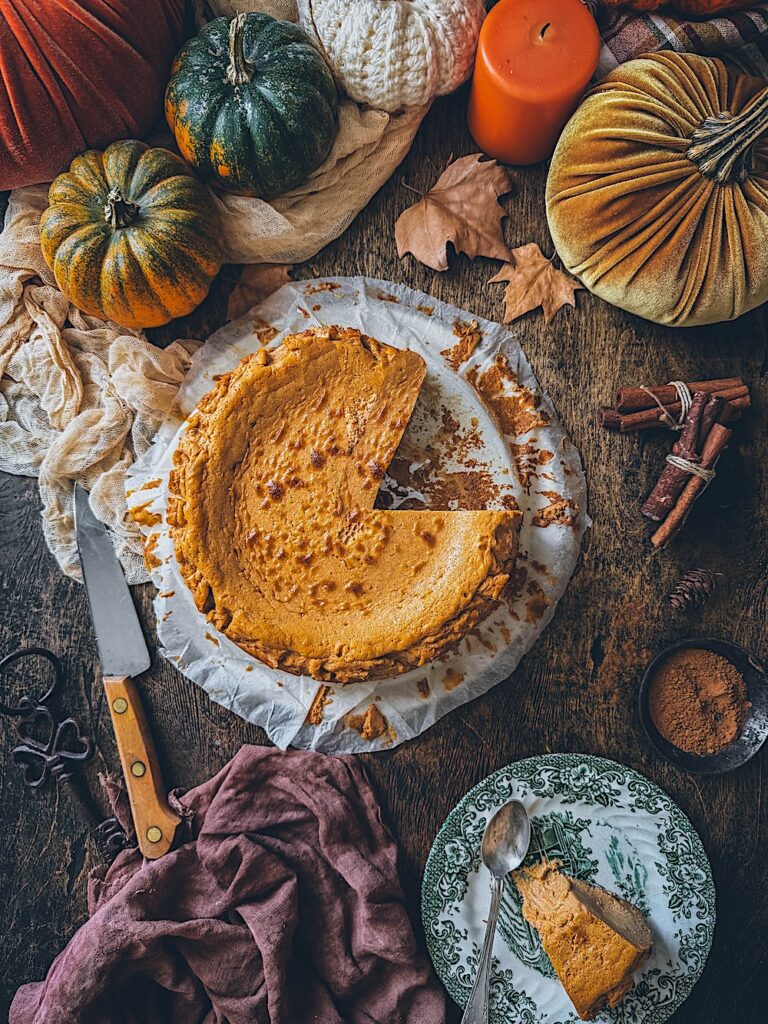
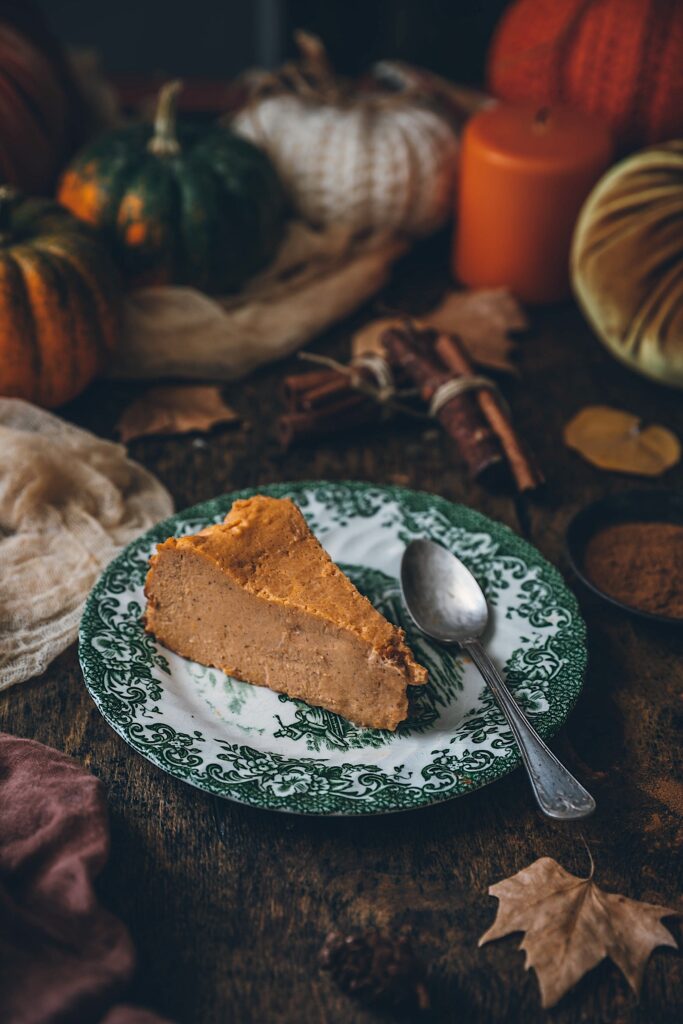
This pumpkin cheesecake is a dessert that I make every year at home in the fall. The flavor of pumpkin but especially of spices reminds me of those afternoons with a blanket and coffee, when the temperatures have dropped and you feel like staying home.
I have repeated this recipe a thousand times, with pumpkin, with pistachios, with cured cheese....and some more that I have yet to record for you, and it always turns out well.
Some of you write to me saying that it is too liquid and that you like it more curdled. Let's start at the beginning. It is very important that you respect the temperatures and times as well as of course the ingredients.
The way to bake a cheesecake is always with heat from above and below, so it bakes equally everywhere without fear of burning on top, which is what hot air usually does.
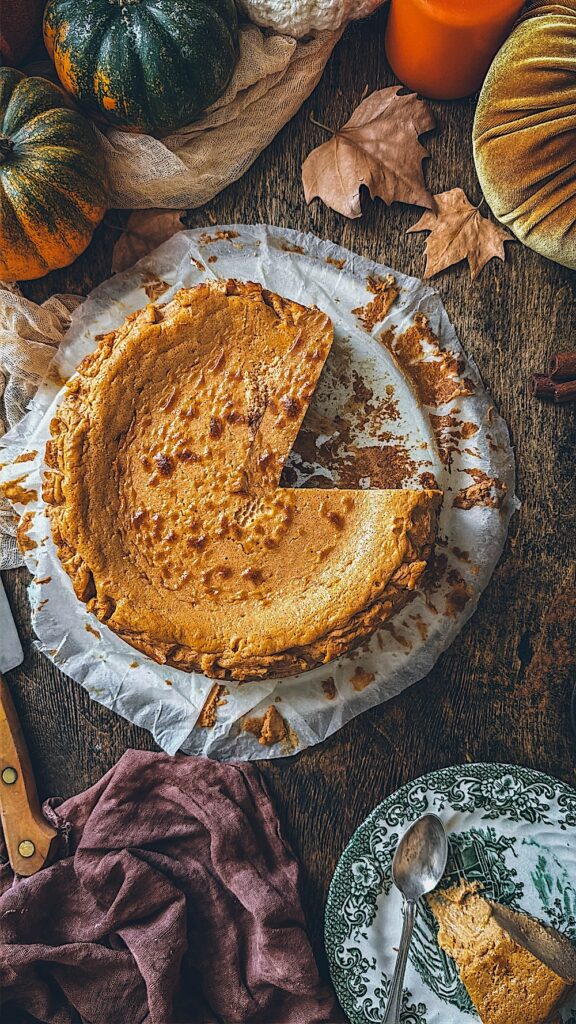
To prevent the cake from sinking in the center once you have finished baking it, it is important that it does not have thermal shock, that is, that the temperature does not change quickly. To do this, it is important that we let it cool to room temperature and then once completely cool, we put it in the refrigerator. I like to let it cool on the oven tray with the oven already off and the door open because this way the temperature warms gently and remains equally high everywhere without sinking in the center.
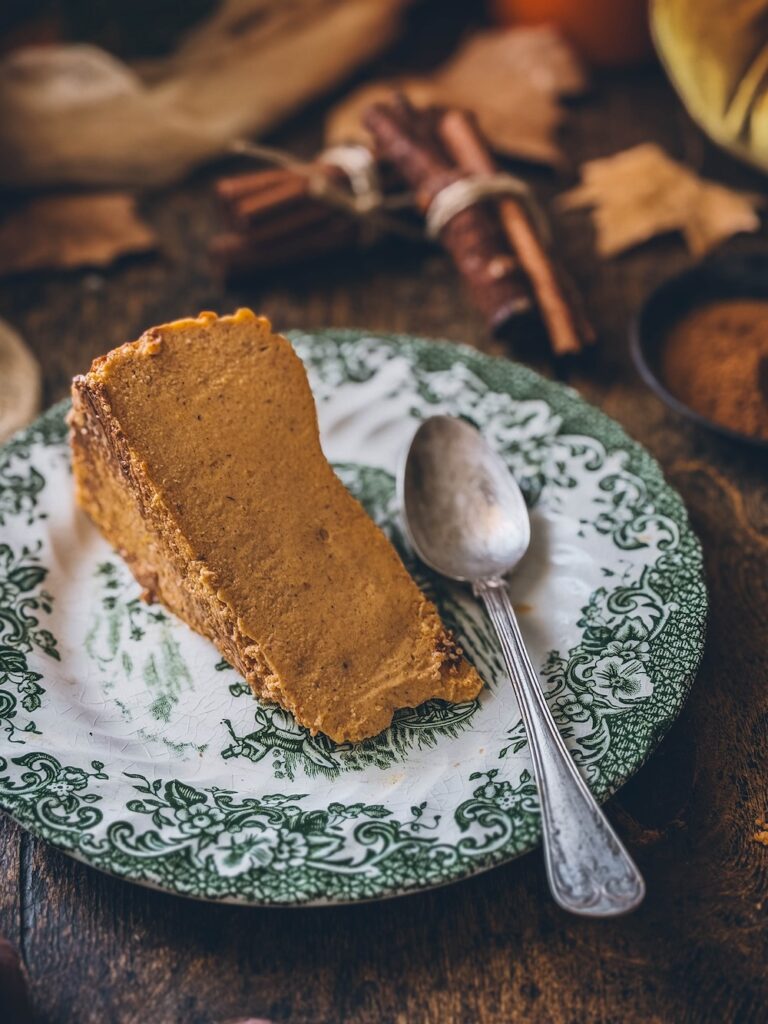
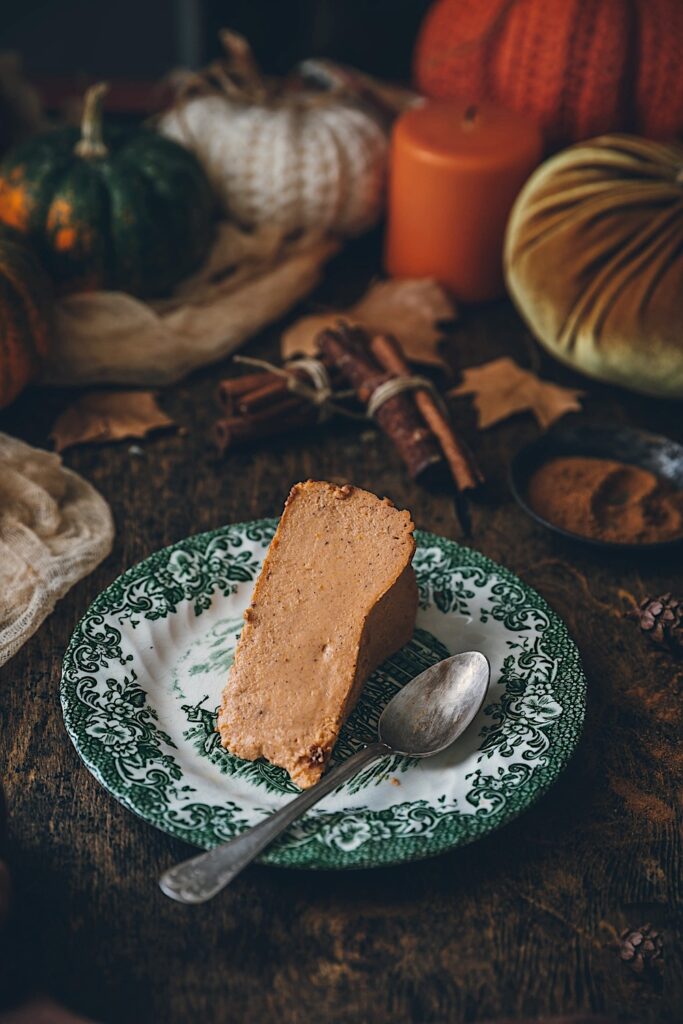
Then I put it in the refrigerator for a minimum of 4 hours, and from then on you can leave it in the refrigerator for up to 5 days. I like it creamy, so I take it out of the refrigerator a little while before serving it, so that it is not cold and the flavor is better appreciated. And this pumpkin one in particular, I love it, it would be served with a little whipped cream, although as it is, it is already delicious.
Ingredients
- 350 ml whipping cream or heavy cream with at least 33% fat
- 180 g crushed roasted pumpkin
- 600 g Philadelphia cream cheese
- 5 large eggs M/L - I buy free-range ones at Mercadona or El Corte Inglés
- 2 teaspoons of cinnamon
- 1/2 tablespoon ginger
- 1/4 teaspoon nutmeg
- 1/4 teaspoon cloves
- 190g sugar
- 10 g of cornstarch
- 1 1/2 teaspoons pure vanilla extract
Directions
We preheat the oven to 220 ºC with up-down heat. This function makes the cake evenly cooked everywhere. If you use the hot air function, it may brown more on top.
The mold I used is 20 cm. We crumple some baking paper with our hands and wet it. We squeeze to eliminate excess water and mold it to the mold. Being wet it will be very easy to do it.
In a large bowl, mix the cream cheese. We beat it a little by hand or with a whisk to soften it. Add the cream, sugar, pumpkin puree, spices, vanilla and cornstarch and mix well.
We also add the eggs and with the help of a mixer or hand whisk, we blend all the ingredients until we have a smooth cream without lumps. If we do it by hand, it is easier to add them one by one, mixing well each time. It is important not to over-beat and to do so with adding a lot of air so that later we do not get clumps on the surface.
Pour the mixture into the mold and bake for 35 minutes. After this time, the cake will be slightly set and very liquid in the center, but that is exactly what we are looking for.
If you see that it is toasting too much on top, we can put aluminum foil on top but without sealing it on the mold.
We let it cool completely inside the mold with the oven off and the door open. When it has lost its heat and is no longer hot, we put it in the refrigerator for a few hours and serve it. If you like it to be more curdled and have a harder texture, you can put it in the refrigerator for 24 hours and it will harden completely.
Tips and Tricks
- For a lactose-free version, use lactose-free cream cheese and cream.
- It lasts in the refrigerator for up to 7 days and freezes very well. My recommendation is that you leave it with the mold so that it does not lose its shape. The cheese treat is soft and if you remove the mold, any blow you give it will cause it to lose its beautiful shape.
- You can serve it accompanied by whipped cream
- Prep time: 45 minutes + chilling time
- Difficulty: easy
- Servings: 10
It may also interest you:
 Chocolate cake and apples with caramel sauce. Happy Halloween!
 Fast chocolate pudding. The perfect dessert for everyone. Gluten-free and lactose-free
 Crispy quesadillas of crumbled chicken carnitas. With oven or with air fryer
 Pumpkin and chocolate cake. Halloween is here!
 Panna cotta with balsamic strawberries. The perfect blend of strawberries and vanilla
 Español
 English
 Français
