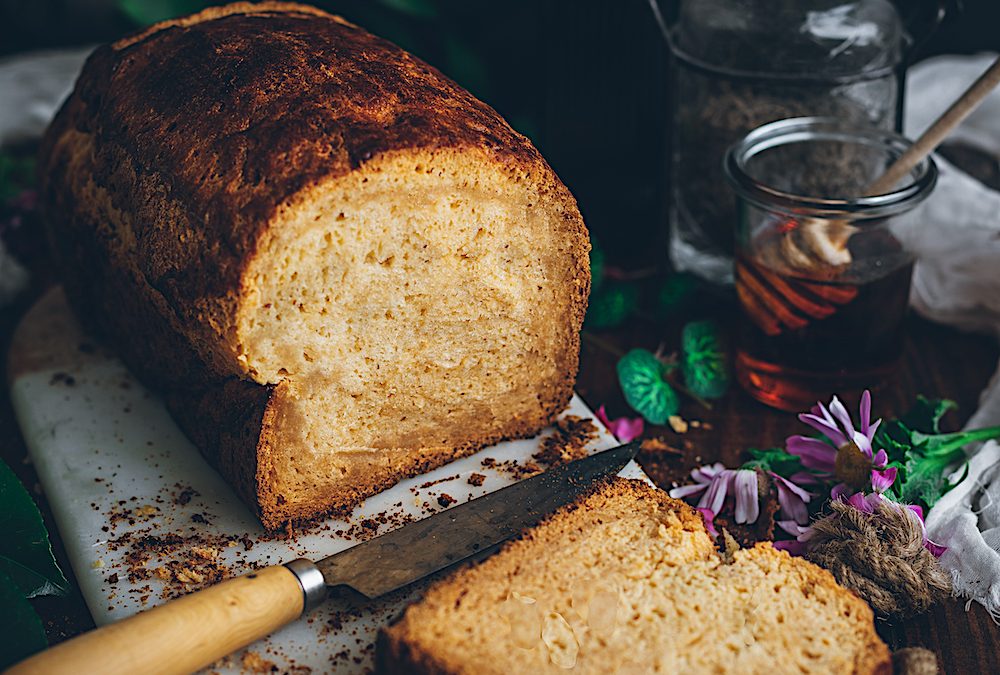
This gluten-free brioche pan recipe is one of the recipes you've asked for the most. A recipe that serves to make toast or to make toast like this time, and that goes well.
To be able to do the first thing we will prepare is a gluten-free flour that you can use as a wildcard for your bread preparations or pastries, and then we will move on to the recipe of brioche as such.
Of course, if you don't have a problem with gluten, you can do my favorite brioche bread with wheat flour. In this recipe I also explain how to do it with blender, thermomix or hand and it is the richest brioche bread that you will take.
It is true that we can use bakable or prepared flours to be able to make gluten-free breads, but it is much more rewarding to be able to make our own mixture. So let's start our recipe by making a kilo of gluten-free flour that you can use in breads and biscuits
For 1 kilo of all-purpose gluten-free flour (for an integral version we can use brown rice flour and whole oatmeal)


Ingredients
For half a kilo of gluten-free flour
- 255g rice flour
- 113g oatmeal
- 58g tapioca starch
- 57g potato starch
- 20g xanthan gum powder
For the milk brioche
- 300g of our gluten-free homemade flour
- 600 g cornstarch (corn starch)
- 7g xanthan gum powder
- 15g gluten-free baker's dry yeast)
- 1 teaspoon salt
- 500g warm milk
- 3 large eggs
- 275g honey
- 200g unsalted butter, melted
- 1 tablespoon vanilla extract
To comb gluten-free flour, we sift all ingredients over a lidded bowl. We cover and mix vigorously. All ingredients have to be very well mixed. We already have the first part of our gluten-free brioche bread to make toast.
Now let's go with the brioche recipe. Mix warm milk, eggs, honey, melted butter and vanilla. Mix with rods or a spoon.
In a bowl mix our gluten-free flour, cornstarch, xanthan gum and gradually add the dry ingredients, using a mixing spoon or a stick spoon.
Transfer the whole mixture to the standing blender with the shovel attachment and mix for about 5 minutes until the dough is sticky opaque with all the ingredients well integrated.
Cover with a rag or shower cap, and let stand at room temperature until the dough rises, about 2 hours. You know I rest the doughs in the oven off.
After time, we put the clogged bowl in the fridge and let it rest in the fridge overnight. The dough will be sticky and the only way to work it well is to cool it in the fridge for a few hours, so I leave it all night in the fridge. Also so it has a slow rest and takes a much richer flavor, don't be in a hurry1
The next morning, we greased our work surface with a few drops of oil. We take the dough out of the bowl and spread it out with our hands forming a rectangle. If the dough sticks, we can grease them with a few drops of olive oil. Now we fold the dough with 3 folds: the top to the center and the bottom the same, so that we have a three-layer rectangle.
Put the dough inside the rectangular pan and let stand for an hour and a half until the volume has bent. Let it rest in a place without currents and if it is better tempered. I put it inside the oven off and closed which is where I always let my doughs rest and it works very well for me. Mine didn't go up much, but it's okay, it'll come up when it's baked.
After this time we turn on the oven at 200 degrees.
Using a cooking brush, we paint the surface of the bread, with beaten egg blended with water carefully. We bake about 60 minutes in total, but after the first 20 minutes, cover the bread with an aluminum foil on top and continue baking. This paper will prevent it from hurting too much.
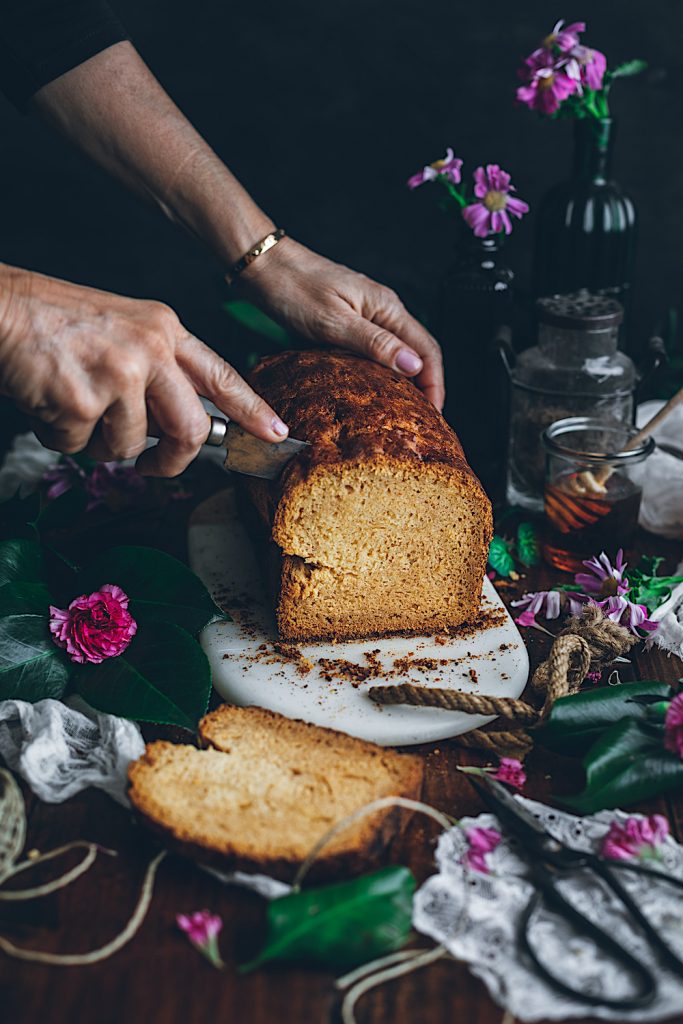
Let it cool in the pan until we can unmould it without burning, and let it cool completely on a rack before cutting it, and enjoy!
Tips and Tricks
- My mold measures 24 x 13 and I cut a piece of dough to bake a small brioche stuffed with chocolate cream and hazelnuts, so if it's bigger you can put all the dough in, and if it's like mine you'll have to cut a piece
- You can replace milk with a vegetable drink or water
- Difficulty: easy
- Preparation time: 15 minutes more rests (3 and a half hours and one night of fridge) and 60 minutes of oven
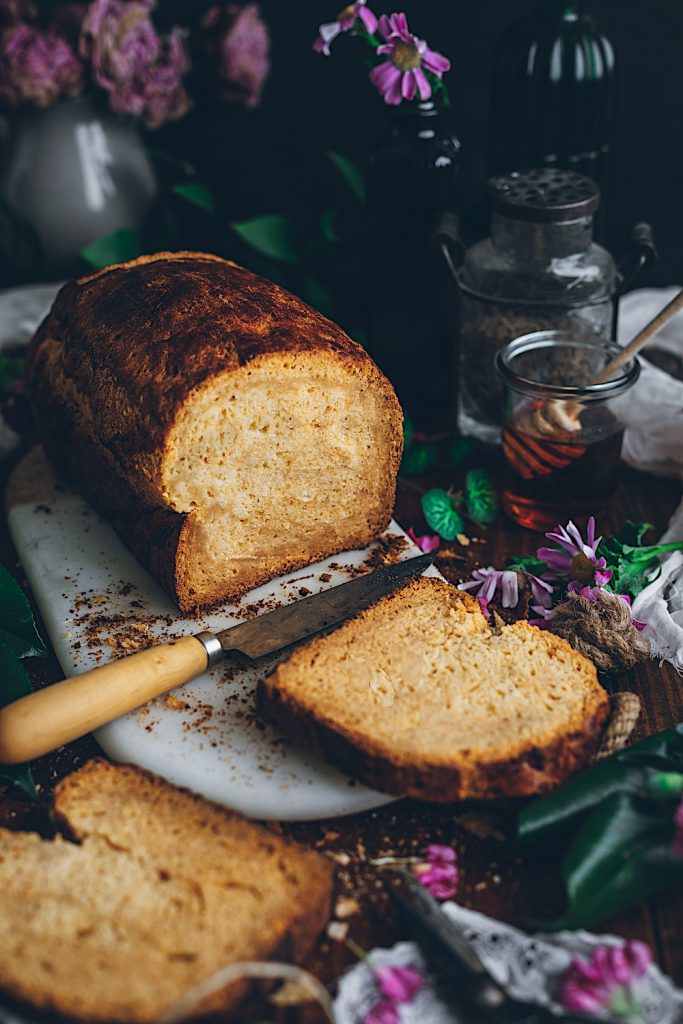
- Rations: 10 slices


 Español
 English
 Français
Hello! How can I replace oatmeal? Maybe Saracen?
It's very complicated. You can NOT replace this flour with another one if gluten. Oatmeal is nothing but ground oatmeal. I haven't done the test with buckwheat, so I can't say yes. This recipe took me a long time to get it out, so Sorry, but I can't answer this. A hug
Hello
The same amounts with strength flour?
The oven 200gr 60min with or without fan?
Thanks
Not um. Flours cannot be replaced as is. For strength flour I recommend this recipe
https://www.loleta.es/la-receta-mas-facil-de-pan-brioche/
A hug and tell me